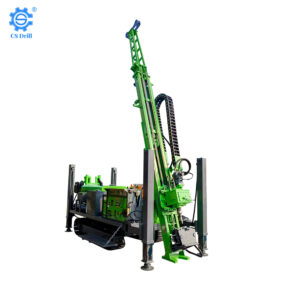
Ever wondered about the complicated process behind borehole drilling? This specialized procedure is a foundation in various industries, vital for accessing below ground resources.
As experts in the field of borehole drilling, our knowledge and experience positions us as a reliable source for understanding this complex process. We’ve navigated through diverse drilling projects, each presents learning opportunities useful for your borehole drilling projects.
Borehole drilling process involves precise steps to drill though the earth’s surface to reach water, minerals, or for geological exploration. Each phase is essential for the success and safety of the drilling operation.
In this guide, we will walk you through the 7 essential steps of the borehole drilling process. From site preparation to the final analysis of drilling results, our comprehensive overview will help you understand the processes you will go through in accepting borehole drilling projects.
Keep reading to uncover the whole process.
Table of Contents
- #1 Surface PreparationStep
- #2 Drilling the Pilot HoleStep
- #3 Casing and Lining the BoreholeStep
- #4 Main Drilling OperationStep
- #5 Sampling and AnalysisStep
- #6 Installing Well ComponentsStep
- #7 Cleanup and Site RestorationConclusion
Step#1 Surface Preparation
To begin the borehole drilling process, meticulous surface preparation is key. This foundational step sets the stage for a successful drilling operation, ensuring safety and efficiency. Here are steps done in this phase:
- Site Assessment: The first step involves thoroughly assessing the intended drilling site. This assessment includes evaluating soil type, topography, and potential environmental impact. A comprehensive site analysis ensures the selection of the most suitable drilling method and equipment, tailored to the site’s specific characteristics.
- Clearing and Leveling the Area: Once the site is assessed, the next step is clearing any vegetation, debris, and obstacles. Leveling the ground is crucial to provide a stable platform for the drilling rig and other equipment. This step is vital for maintaining safety and accuracy during the drilling process.
- Access Road Construction: For remote or difficult-to-access sites, constructing or improving access roads is essential. These roads facilitate the smooth transport of heavy drilling equipment and materials to the site. Well-planned access minimizes potential delays and logistical challenges.
- Setting Up the Drilling Platform: This includes laying a solid foundation for the drilling rig and setting up ancillary equipment like mud tanks and power sources. A properly set up platform ensures stability during drilling operations and helps in managing drilling byproducts efficiently.
Here’s a table summarizing the key steps and importance of setting up a drilling platform:
| Step | Description | Importance |
| Foundation for Drilling Rig | Establishing a stable and solid base for the drilling rig. | Ensures the stability and safety of the rig during drilling operations. |
| Setting Up Ancillary Equipment | Installation of necessary equipment such as mud tanks and power sources. | Essential for the smooth functioning of drilling operations and handling of drilling byproducts. |
| Platform Stability | Ensuring the drilling platform is securely set up. | Critical for preventing accidents and enhancing the efficiency of drilling activities. |
| Efficient Management of Byproducts | Proper setup aids in managing drilling byproducts like drill cuttings and mud. | Helps in maintaining environmental safety and operational cleanliness. |
Step#2 Drilling the Pilot Hole
Following thorough surface preparation, the next critical step is drilling the pilot hole. This initial bore sets the trajectory for the entire drilling process and requires precision and careful planning. Here’s how to do it:
- Choosing the Right Drill Bit: Begin by accurately selecting an appropriate drill bit for effective pilot hole drilling. According to Mordor Intelligence, drill bit market is expected to grow at a CAGR of 6.6% in 2022-2027. This growth highlights the need for drill bits depending on the soil types and the desired diameter of the borehole.
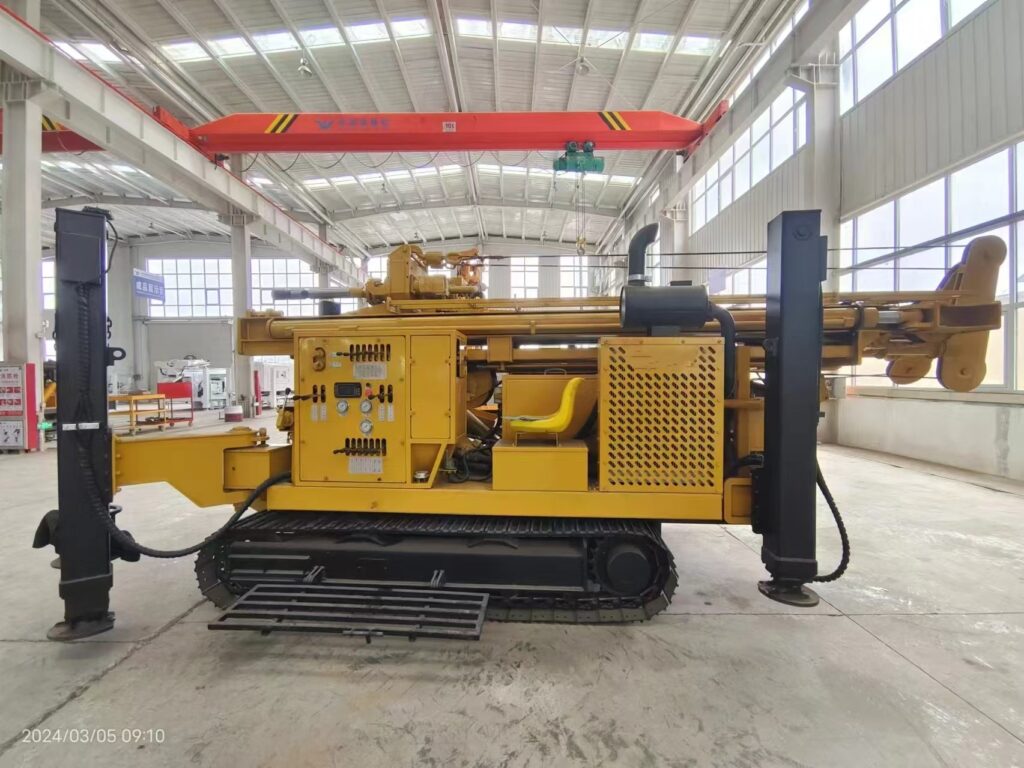
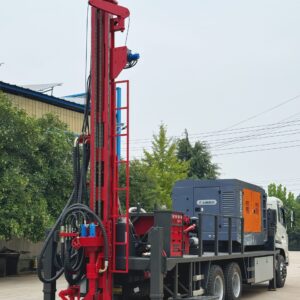
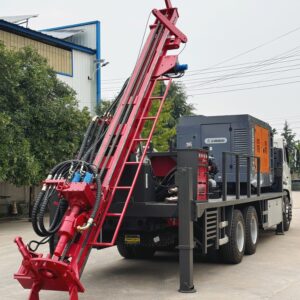
- Setting Up the Drill Rig: The drilling rig is then positioned and stabilized on the prepared surface. This setup includes attaching the chosen drill bit and calibrating the rig for the correct depth and angle. Drillrigy’s expertise offers equipment that ensures precision and reliability in this crucial setup phase.
- Drilling Process: The drilling of the pilot hole begins with careful monitoring of the drilling speed and pressure. This process involves gradually penetrating the ground, often with the addition of water or drilling fluids to reduce friction and remove drill cuttings from the hole.
- Constant Monitoring and Adjustment: Throughout the drilling of the pilot hole, constant monitoring is essential. Adjustments may be needed in response to unexpected soil conditions or obstacles encountered. This continuous oversight ensures the pilot hole is drilled accurately, setting a solid foundation for the subsequent drilling stages.

Step#3 Casing and Lining the Borehole
With drilling the pilot hole is done successfully, the next essential step is casing and lining the borehole. It stabilizes the borehole and prevents collapse, ensuring the longevity of the well. Here are the steps to do it:
- Selection of Casing Material: Choose the appropriate casing material based on the geological conditions and use of the borehole. For example, materials like steel or PVC are commonly used. Steel is preferred for its strength in deeper or more unstable formations, while PVC is suitable for shallower wells in stable soils.
- Inserting the Casing: The casing is carefully inserted into the drilled borehole. This step requires precision to ensure the casing aligns correctly with the borehole. The casing should fit snugly within the hole, providing structural support to the drilled well and preventing any inward collapse.
- Sealing the Casing: Once the casing is in place, it is crucial to seal the space between the casing and the borehole wall. This is often done using special grouting materials, like cement. For example, in water wells, this seal prevents contaminants from entering the well and protects any aquifers from cross-contamination.
- Adding Additional Linings if Necessary: In some cases, additional linings, such as screen sections, may be needed for filtration or stabilization. This is particularly common in wells used for water extraction, where screens help filter out sediment and allow for better water flow.
Step#4 Main Drilling Operation
After casing and lining the borehole, they advance to the main drilling operation, where the borehole is extended to its final depth. Here are the key steps involved in executing the main drilling operation:
- Installation of a Larger Drill Bit: Start by installing a larger drill bit appropriate for the main drilling phase. This bit is typically more robust and designed to drill deeper and wider than the pilot hole. Drillrigy’s range of larger bits, ensuring efficient and precise drilling for various projects.
- Starting the Drilling Process: Begin the drilling operation by slowly penetrating deeper into the earth. Maintain a consistent drilling speed, adjusting for the hardness or variability of the geological layers encountered. It’s important to keep the drilling steady and controlled to avoid deviations and ensure a straight borehole.
- Continuous Removal of Drill Cuttings: As drilling progresses, regularly remove the drill cuttings from the borehole. This can be achieved through the use of drilling muds or air blowouts, which help in lifting the cuttings to the surface. Efficient removal of these cuttings is essential to prevent clogging and maintain the integrity of the borehole.
- Monitor and Adjust Drilling Parameters: Continuously monitor the depth and condition of the borehole. Make necessary adjustments to the drilling speed, bit pressure, and angle based on the geological conditions encountered. This step is vital to ensure that the borehole reaches the desired depth accurately and safely.

Step#5 Sampling and Analysis
Once the main drilling operation is completed, the next crucial phase is sampling and analysis. This step involves collecting and examining samples from the drilled borehole. Here are the key steps to perform this phase:
- Collection of Samples: Begin by extracting samples from various depths of the borehole. This is typically done using specialized sampling tools attached to the drilling rig. The samples collected should represent different layers of soil, rock, or other materials encountered during drilling.
- Label and Preserve Samples: After collection, it’s important to label each sample accurately, noting the depth and location from which it was extracted. Proper preservation of these samples is crucial to prevent degradation. This might involve storing them and maintaining them at specific temperatures, depending on the type of material.
- Laboratory Analysis: Send the collected samples to a laboratory for detailed analysis. This analysis can include a range of tests, such as chemical composition, and physical properties like density and porosity. The results provide vital information about the geological structure and potential resources present at different depths.
- Interpretation of Results and Reporting: Once the laboratory analysis is complete, interpret the results to understand the subsurface conditions. This interpretation helps in making informed decisions about the potential for resource extraction, or the suitability of the site for its intended use.
Step#6 Installing Well Components
After the successful completion of sampling and analysis, the focus shifts to installing the necessary well components. This step is crucial for transforming the drilled borehole into a functional well. Here’s how to proceed with this important phase:
- Selection of Well Components: Begin by selecting the appropriate components for the well, based on the intended use and the subsurface conditions identified during sampling and analysis. This includes screens, pumps, and pipes, which must be compatible with the borehole size and the type of resource being extracted.
- Installation of Screens and Filters: If the well is intended for water extraction, install screens and filters at specific depths to prevent sediment and debris from entering the well. These screens are crucial for maintaining the quality of the extracted water and ensuring the longevity of the well.
- Setting Up the Pumping System: Install the pumping system, which is essential for extracting the resource from the well. The type of pump and its installation depth depend on factors like the static water level, and the required flow rate. Ensure that the pump is correctly sized and properly positioned for efficient operation.
- Connect Piping and Control Systems: Finally, connect the well to the surface infrastructure. This involves laying pipes from the wellhead to the storage or processing facilities and installing any necessary control systems. These systems are designed to regulate the flow, pressure, and other operational aspects of the well.

Step#7 Cleanup and Site Restoration
The final step in the borehole drilling process is cleanup and site restoration. It is critical for minimizing environmental impact and restoring the site to its original state. Here’s how to do this step:
- Removal of Drilling Equipment and Waste: Begin by carefully dismantling and removing all drilling equipment from the site. This includes the drilling rig, tools, and any temporary structures. Ensure that all waste materials are properly collected and disposed of in accordance with environmental regulations.
- Land Reclamation: Next, focus on land reclamation. This involves filling any unused boreholes, leveling the land, and, if necessary, replanting vegetation. The goal is to return the land to its pre-drilling condition as much as possible.
- Environmental Monitoring: After the physical cleanup, implement a monitoring plan to assess the environmental impact of the drilling operation. This typically involves testing soil and water samples for contaminants and monitoring the site for any signs of pollution or ecological disturbance.
- Documentation and Reporting: Finally, document all cleanup and restoration activities and prepare a final report. This report should detail the methods used for waste disposal, land reclamation, and environmental monitoring. It serves as a record of compliance with environmental standards and regulations.
Dive Deeper Into Our Resources
For some insightful reads, we’ve curated a list of recommended articles just for you:
- A Comprehensive Guide to Borehole Drilling Machines
- 9 Essential Steps for Drilling a Well: A Comprehensive Guide
Still haven’t found what you’re looking for? Don’t hesitate to contact us. We’re available around the clock to assist you.
Conclusion
This comprehensive guide to the borehole drilling process outlines the 7 essential steps important for a successful drilling operation. Understanding each step, from surface preparation to site restoration, empowers businesses with the knowledge needed for efficient and effective borehole drilling.
For businesses seeking expert assistance in borehole drilling, Drillrigy offers top-notch services tailored to your specific needs. Contact us to explore how we can help make your drilling project a success.

